 Make your own light reflector using household items.Simply following two steps.
This is a very useful item to have when you're trying to improve the quality of your pictures, when photographing for your items or blog without spending more than two hundred dollars on lighting equipment.
Always suggest to use what you have available without spending too much. Here I've used a old mat board that I saved when the bathroom mirror broke. But a cardboard will work just fine; Non toxic school glue (just because my curious daughter is around and might want to help) An old tooth brush that's been with me for more than thirteen years, used for painting to make texture and many other projects. Aluminum foil from the kitchen.
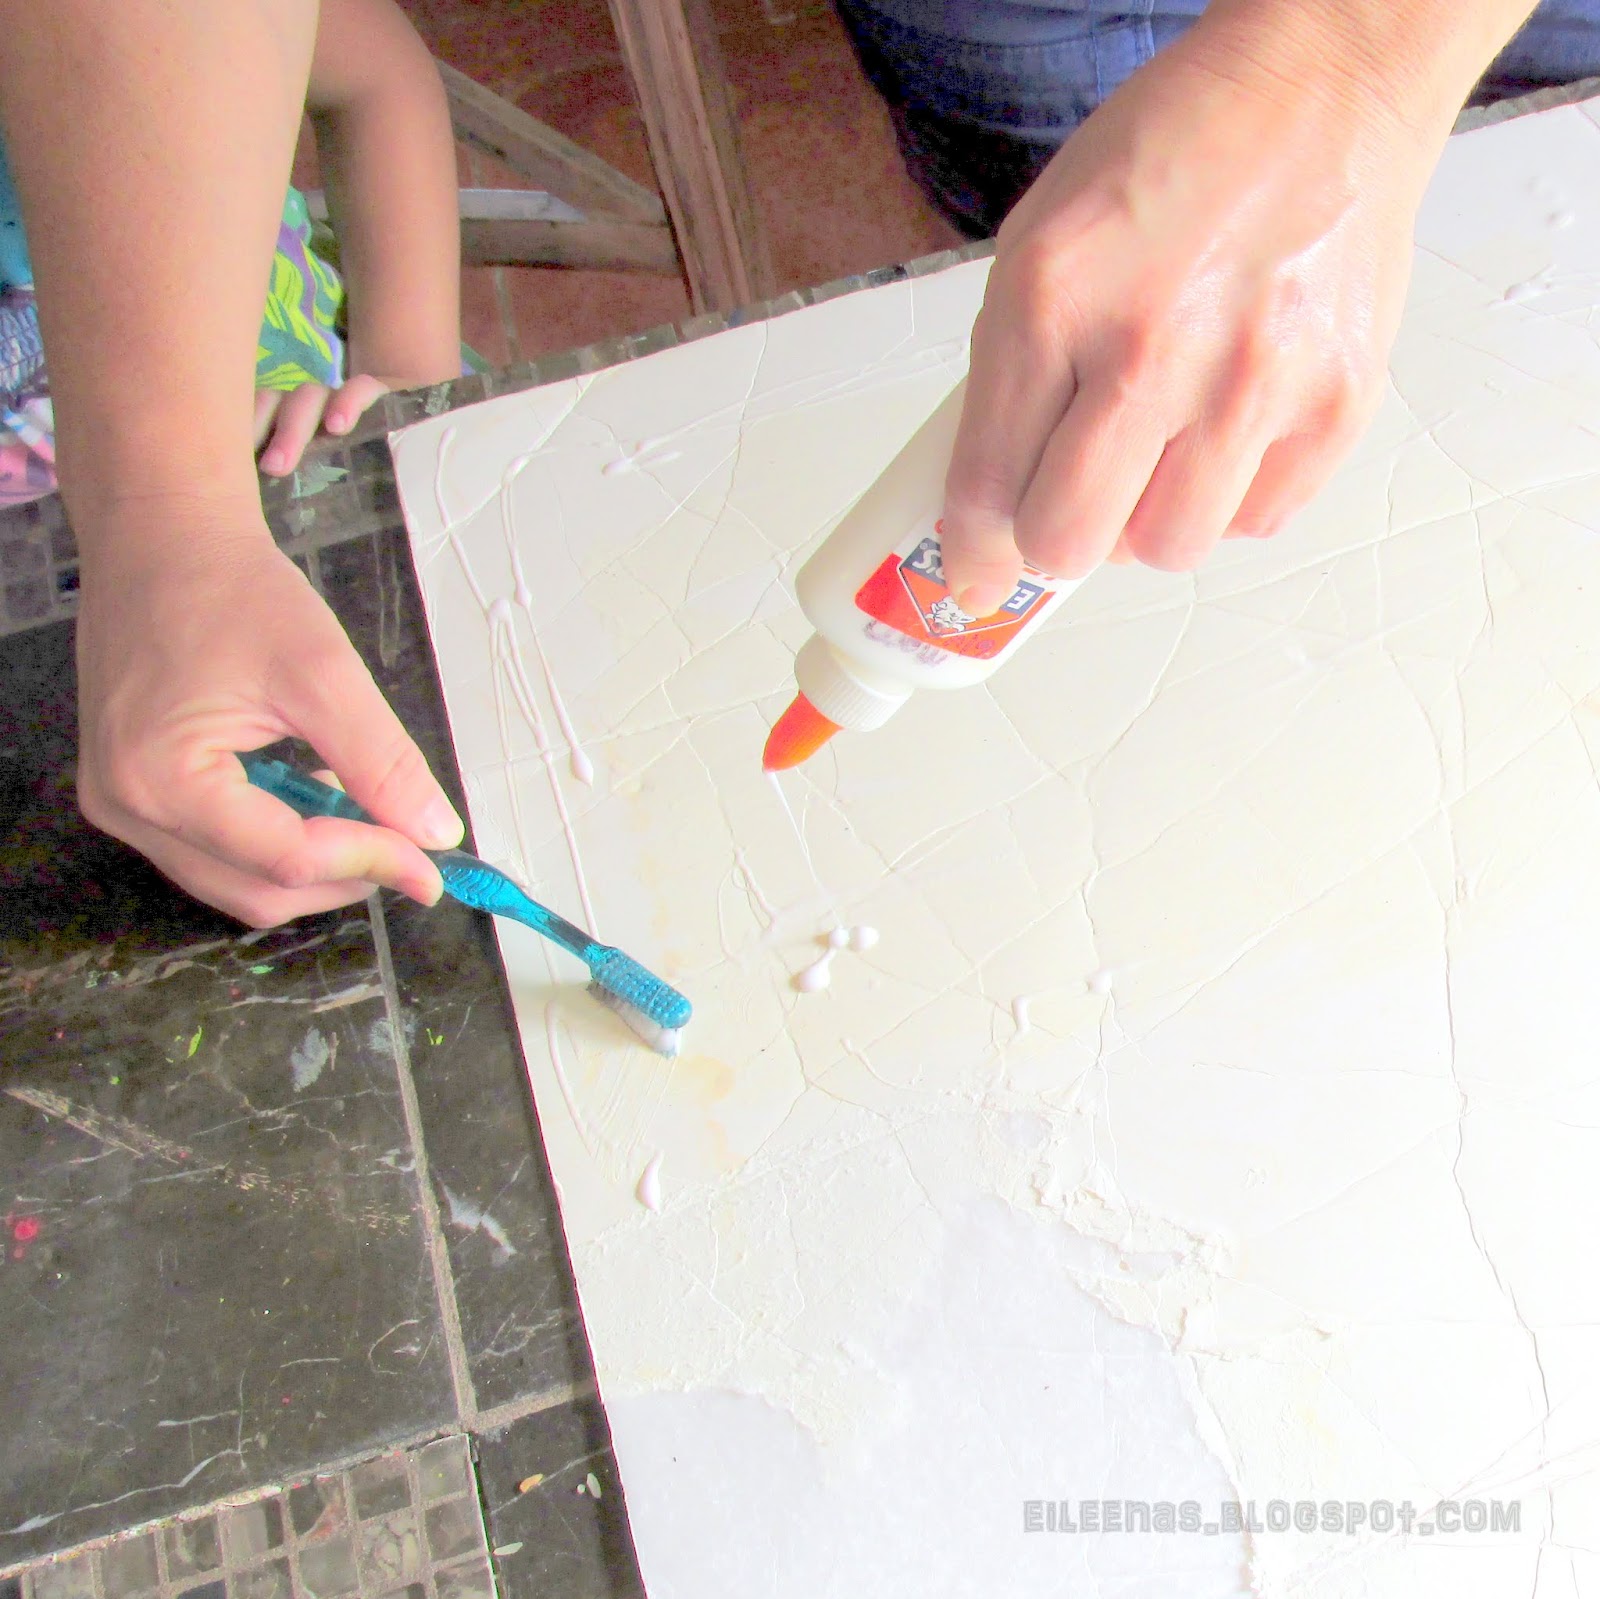
Pour the glue over the surface and spread it evenly.
She always is around to give mommy a hand.
Take the Aluminum Foil work and slowly roll it over the glued surface, smoothing it with your hands and taking any air bubbles out.
Repeat this step several times until your surface is covered.
Cut the excess of aluminum and if you like, you can use tape to protect the edges. But for me is not necessary.
It is ready to ready take pictures Do not worry about the wrinkles professional light reflectors are wrinkled because they come in a small bag and anyway the use is to reflect light not to be in the picture...
soon will publish the experimental pictures here is the preview.
Hope you enjoyed this recipe Thanks for reading our blog;
Subscribe, keep the connection on Facebook, Pinterest , Google plus + Twitter or simply come back around.


